Propagation — Mothers, Clones, and Early Veg
Propagation is the foundation of every successful cultivation cycle. At CannaCribs Consulting, we define propagation as encompassing mother plant management, clone production, and vegetative growth — all tightly integrated to ensure a continuous supply of healthy, uniform plants to the flowering rooms.
The primary output of propagation is high-quality cuttings (clones). Achieving consistency requires thoughtful facility design, strict environmental control, and a well-organized workflow. From selecting the right mother stock to hardening off rooted clones in veg, this phase sets the pace and quality standard for the entire cultivation operation.
Get the Cannabis Facility Build Guide Toolkit
Everything from this series in one downloadable pack — Excel calculators, checklists, and a printed quick-reference card. Built by the team behind CannaCribs Consulting.
- 📊 10-Tab Excel Workbook
- 💰 Financial Model Calculator
- 📍 Site Selection Scorecard
- 💧 Fertigation Dryback Log
- ✅ Commissioning Checklist
- 🔒 Compliance Readiness
- 📄 Quick Reference Card
The Three Interconnected Areas of Propagation
CannaCribs defines propagation as three stages that must work as an integrated system — not independent rooms with disconnected goals:
Mother Plant Management
Maintaining healthy, vigorous mother plants that consistently produce high-quality cuts. Mother canopy management, feeding programs, and genetic preservation all start here.
Clone Production
Taking, processing, and rooting cuttings under tightly controlled conditions. Consistency in clone size, cutting technique, rooting environment, and biosecurity determines the quality and uniformity of everything downstream.
Early Vegetative Growth
Transitioning rooted clones into established veg plants ready for the flowering room. Uniformity in height and health at transplant is the metric that matters — it determines how even your canopy will be at harvest.
Room Design and Redundancy
A propagation room should be designed based on the weekly or monthly clone demand of the entire flowering operation, accounting for:
- The number of flowering rooms and production cycles
- The number of active genetics being maintained
- Backup plant needs for redundancy and replacement of losses
Single Room vs. Dedicated Stages
In smaller facilities, it's common to combine mother, clone, and early veg areas into a single room to save space and reduce complexity. In larger facilities, CannaCribs recommends separating these stages into dedicated rooms to limit cross-contamination risks and isolate issues like pests or disease outbreaks to a single area rather than the entire propagation system.
Redundancy is a design priority, not an afterthought. If one propagation area is compromised — whether by pathogen pressure, equipment failure, or human error — the rest of the operation must continue supplying healthy plants to the flowering rooms without interruption.
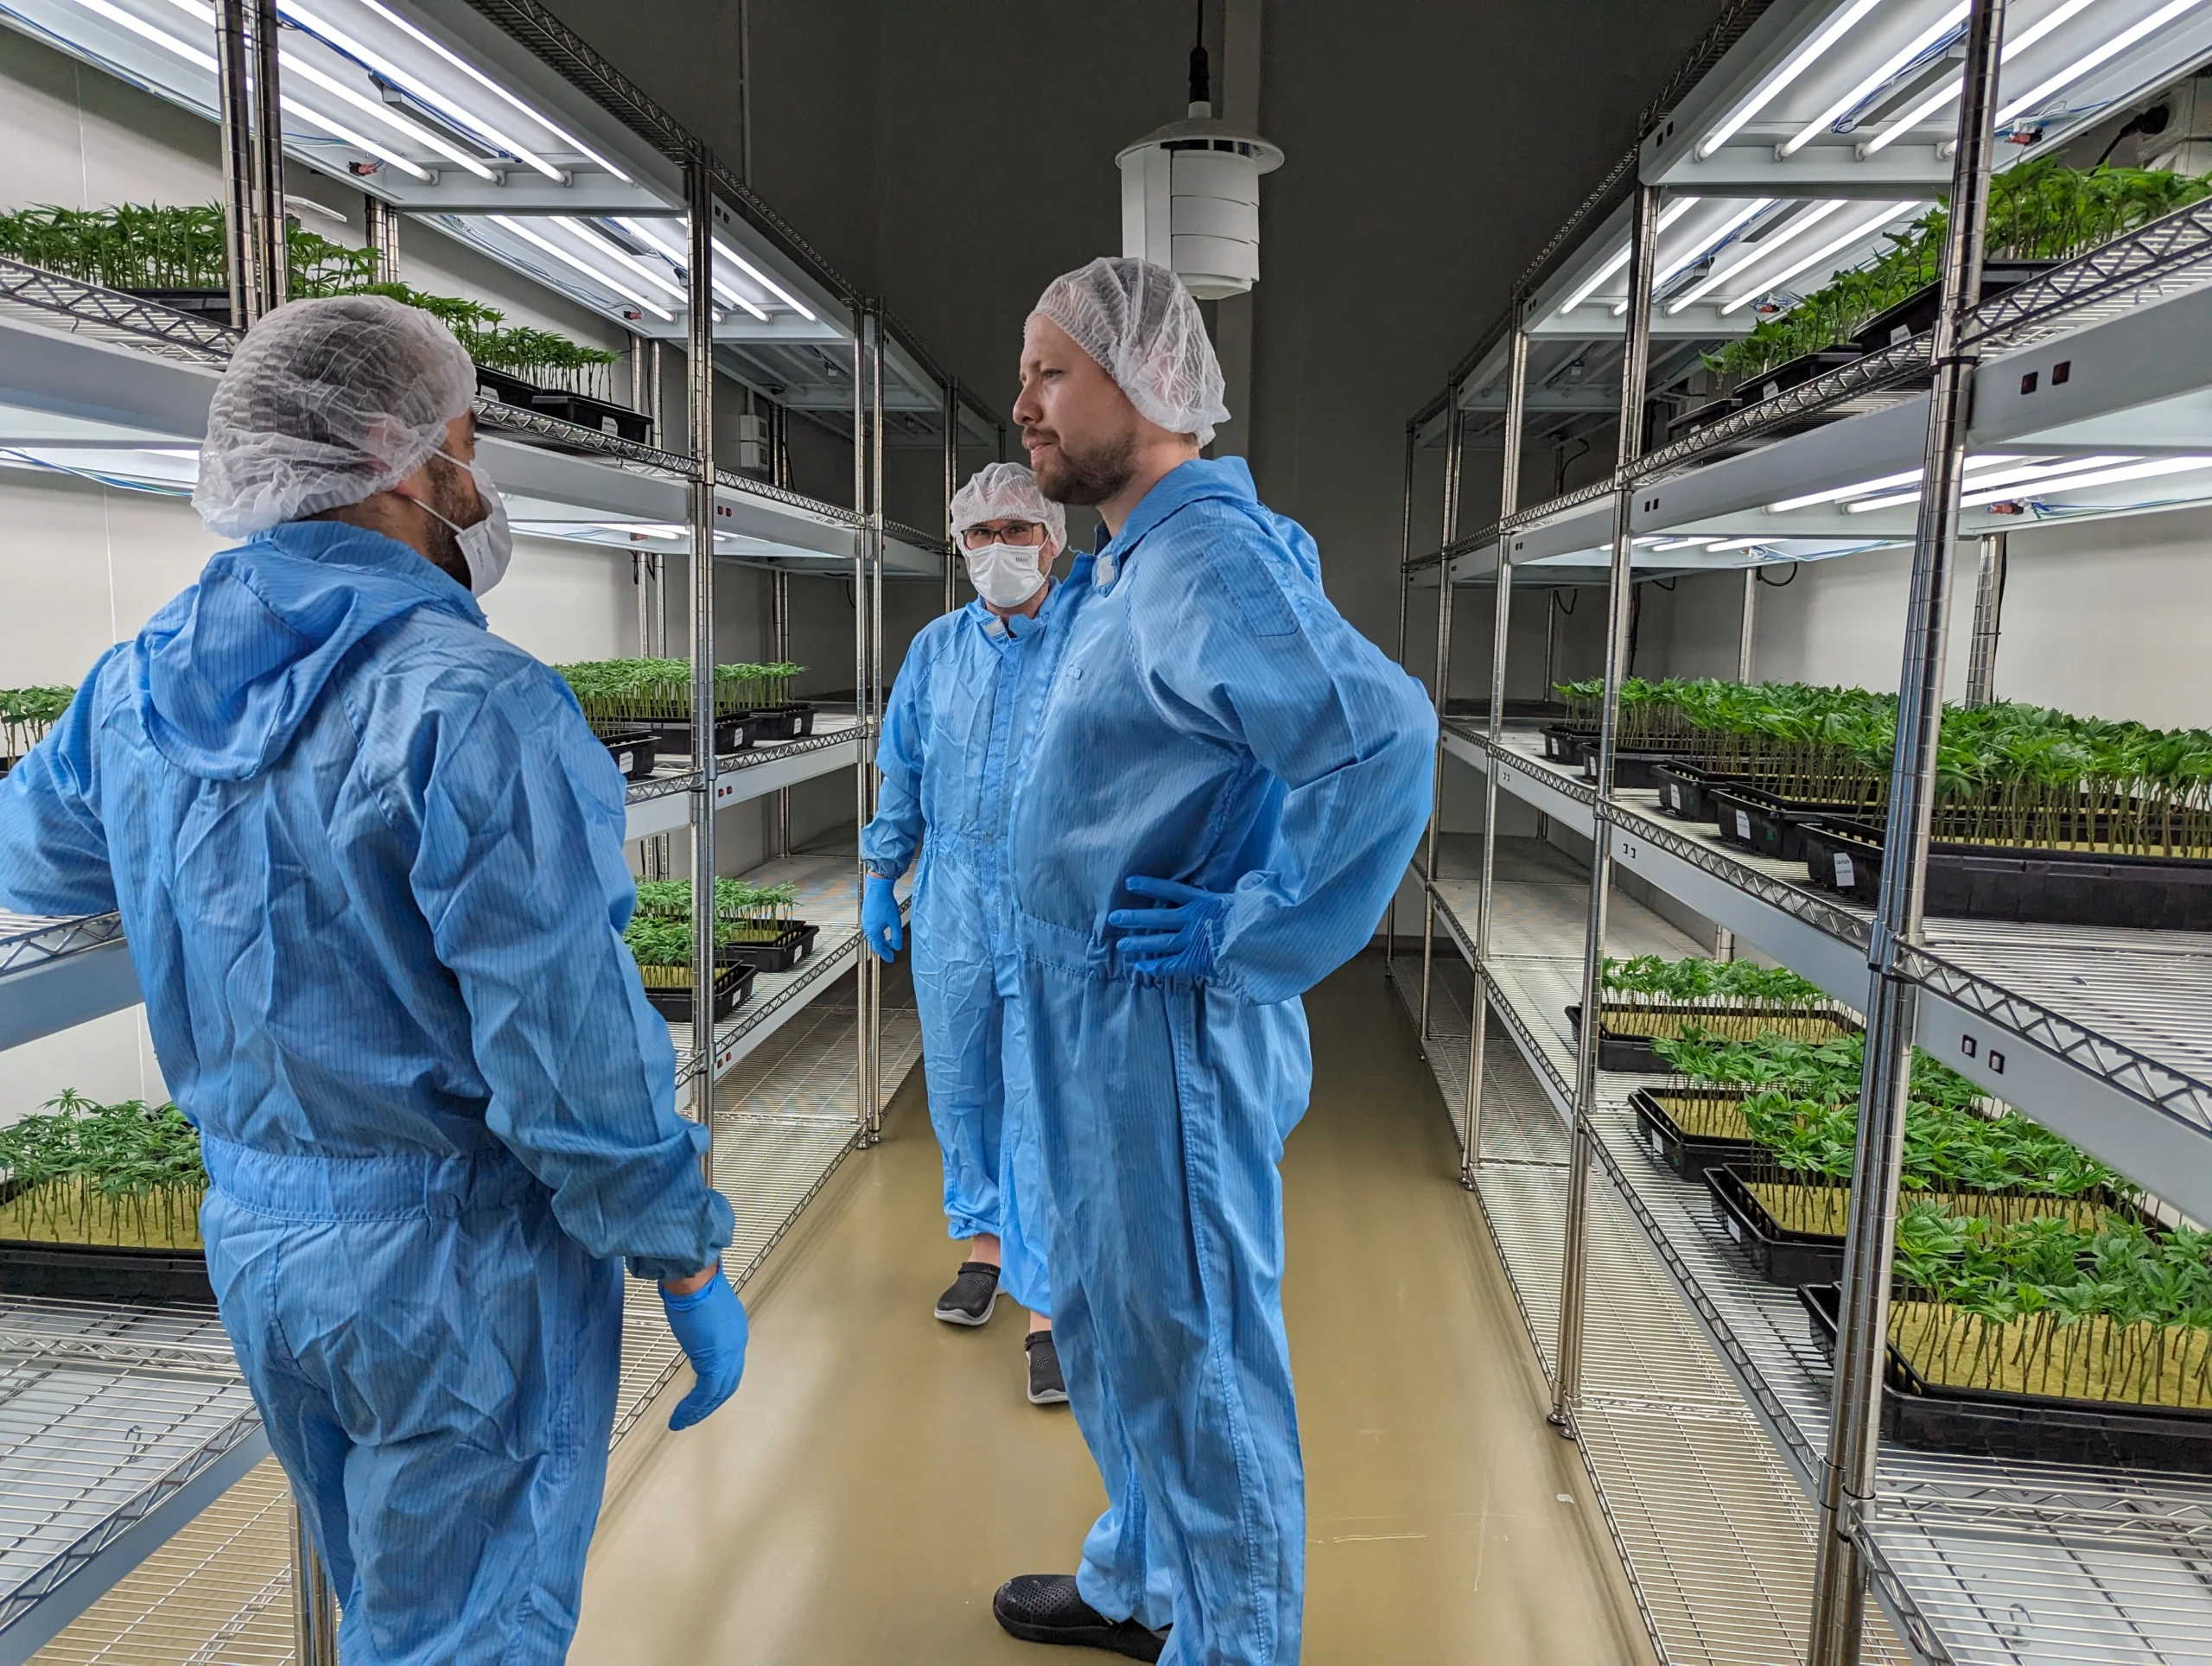
Vertical Space and Location
Propagation rooms should maximize vertical space. Plants at this phase are small, require less frequent direct access, and benefit from multi-tier racking that dramatically improves space efficiency and workflow throughput. Propagation areas should also be located centrally in the facility to reduce plant transport distance and minimize contamination risk during movement.
Environmental Control and Lighting by Area
Precise control of light, temperature, and humidity is essential throughout propagation. Each area has distinct requirements — running a single setpoint across all three is one of the most common design mistakes in propagation rooms.
| Area | PPFD Target | Photoperiod | Temp | RH | Notes |
|---|---|---|---|---|---|
| Clones | 100–200 µmol·m⁻²·s⁻¹ | 18 hrs | 24–26°C | ~60% | Humidity domes for first 48 hrs; domes vented as roots establish |
| Early Veg | 200–600 µmol·m⁻²·s⁻¹ | 18 hrs | 24–26°C | 50–65% | Increase PPFD gradually as cuttings harden off and establish root systems |
| Mother Plants | 300–600 µmol·m⁻²·s⁻¹ | 18+ hrs | 24–26°C | 50–60% | Must remain in 18+ hour photoperiod to prevent accidental flowering |
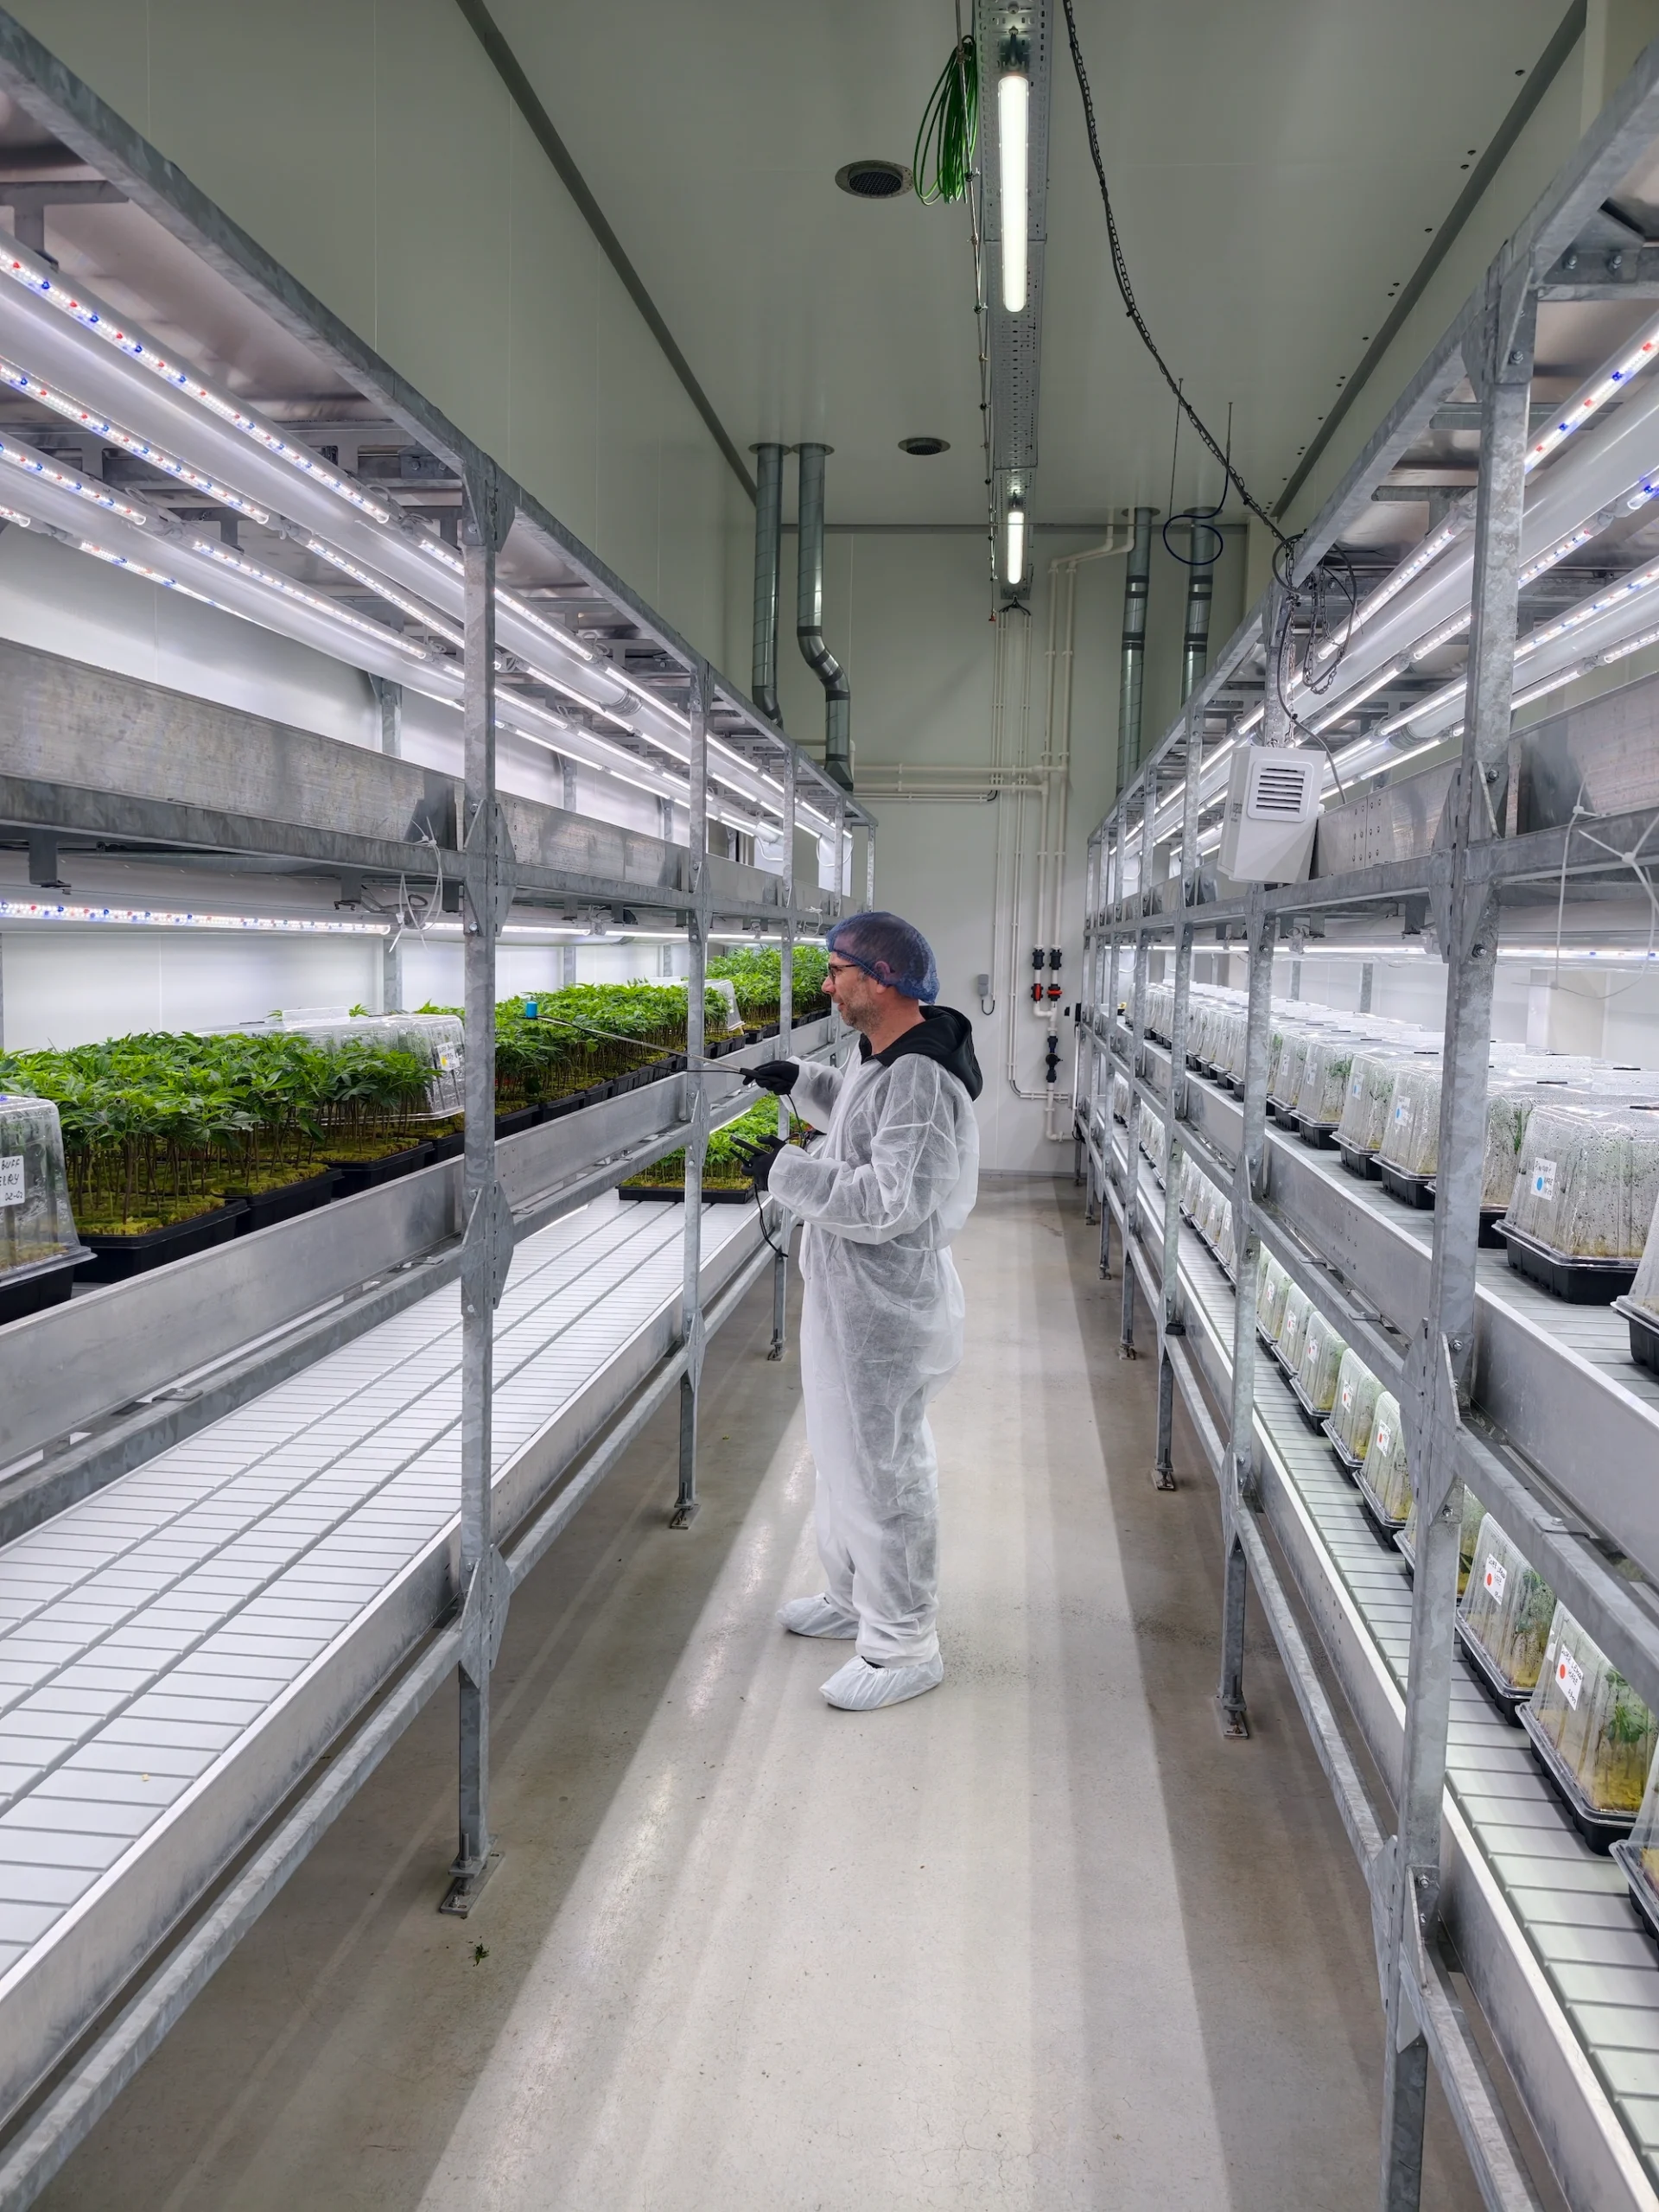
Irrigation Strategy for Propagation
During the rooting and early veg phases, subirrigation is often preferred over drip systems. Water demand is low, plant density is high, and the risk of overwatering — which causes stress and creates conditions for damping-off pathogens — is significant in small containers or propagation media. Subirrigation delivers moisture from below, reducing wet surfaces and pathogen habitat.
For mother plants in larger containers with higher water demand, precision drip irrigation becomes more relevant — giving growers the control needed to maintain proper substrate moisture and EC management as demand increases with canopy size.
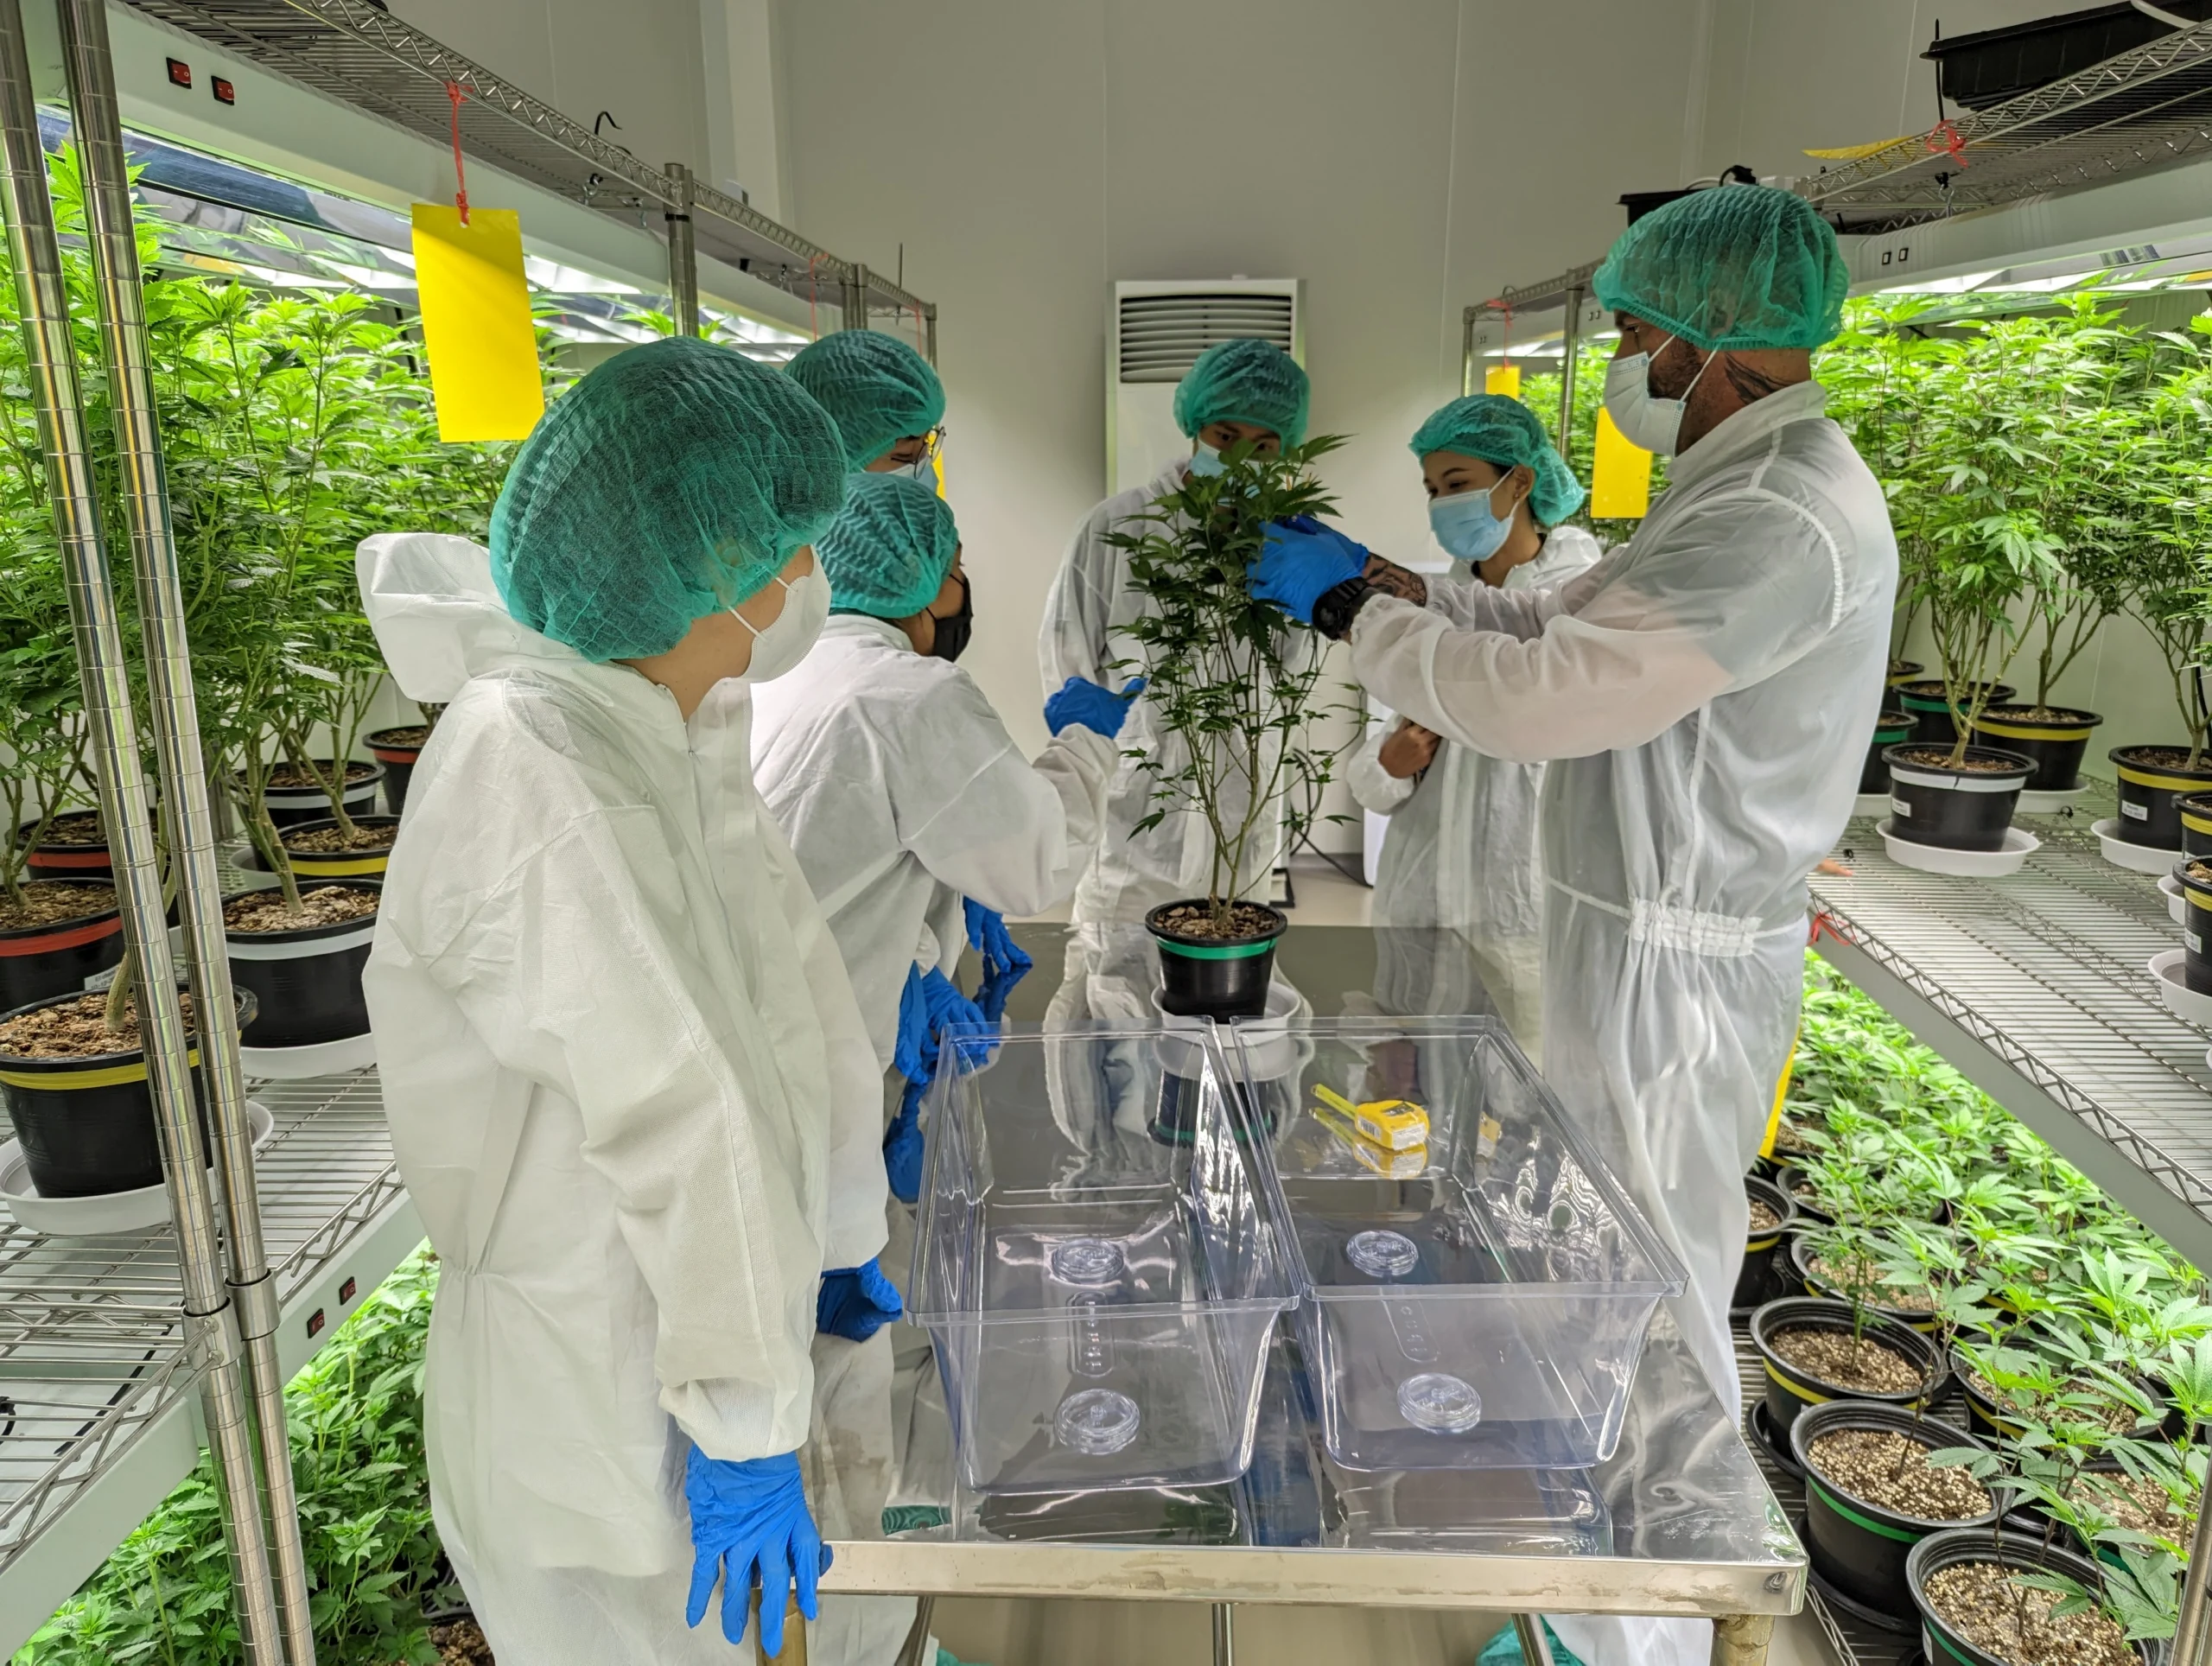
Workflow Support and Biosecurity
Propagation areas are among the most pathogen-vulnerable spaces in any facility. A single contaminated clone batch — particularly with Hop Latent Viroid (HLVd) — can silently compromise an entire season of production before symptoms appear. Workflow design and biosecurity protocols in propagation must be held to the same standard as a pharmaceutical clean room.
Dedicated workspace
Clean, well-lit bench areas designed for cutting, transplanting, inspection, and documentation. No multi-purpose use — this bench is only for propagation.
Disinfection protocols
Fresh 10% bleach solution daily. One scissor per plant into a dirty bin. Physical cleaning before 1-minute bleach soak. Color-coded containers to eliminate mix-ups.
Tracking and labeling
Every clone tray labeled with strain name, mother ID, batch number, and date. Allows tracing any issue in veg or flower back to its source mother.
Glove and hand protocols
Gloves changed between cultivars at minimum — ideally between plants. Hands sprayed with bleach solution and allowed to air dry between plants when working at scale.
Process-specific carts
Separate, color-coded carts for each propagation task — one for mother cutting, one for cloning, one for transplanting. No equipment sharing between rooms.
Sanitation scheduling
Propagation rooms follow the facility's most stringent cleaning schedule. Full room sanitation between batches; bench sanitation between strains within a session.

Download the Build Guide Toolkit
Financial model, setpoints reference, site scorecard, dryback log, commissioning checklist, and compliance readiness — all in one Excel workbook + Word quick-reference card.
- 🌡 Environmental Setpoints
- 💡 PPFD & DLI Calculator
- 🪴 Dry Room Sizing Tool
- 🌱 Clone KPI Tracker
- 🔒 Pre-Audit Checklist
Propagation requirements and pathogen pressure vary by market. CannaCribs offers state-specific cultivation consulting in:
Q&A Section
The number of mothers depends on clone demand, genetics count, canopy management style, and the buffer you carry for redundancy. A starting framework: calculate weekly clone demand by dividing annual flowering room starts by 52, then determine how many cuttings each mother can produce per session (typically 20–50, depending on size), and build in 20–30% redundancy buffer.
Most commercial facilities maintain 1–3 mothers per active genetic. For operations running 5–15 genetics, that means 5–45 mother plants, depending on cut frequency and clone volume per session. Over time, genetic testing and tissue culture programs may reduce the number of physical mothers needed while improving genetic reliability.
Hop Latent Viroid (HLVd) is one of the most damaging and widespread pathogens currently affecting commercial cannabis operations. It causes "dudding" syndrome — reduced vigor, decreased terpene and cannabinoid production, abnormal morphology, and yield losses of 30–50% or more. Critically, infected plants can appear healthy for months before symptoms appear.
HLVd is primarily transmitted mechanically — through contaminated cutting tools, hands, and surfaces during propagation. It cannot be treated, only prevented. This is why disinfection protocols during cloning (one scissor per plant, fresh bleach daily, 1-minute soak, physical cleaning before chemical disinfection) exist specifically to break the transmission chain. Testing mother plants regularly for HLVd is also strongly recommended in any serious commercial operation.
Under optimal conditions (100–150 PPFD, 24–26°C, ~60% RH, humidity domes for the first 48 hours), most cannabis cultivars root within 7–14 days. Some fast-rooting genetics can show visible roots in 5–7 days; slower or more challenging cultivars may take 14–21 days.
Key factors that affect rooting speed: cutting freshness and health, rooting hormone application, media moisture level (not too wet, not too dry), temperature stability (root zone warmth is particularly important), and minimizing transplant stress. Consistency in all these factors — more than any single variable — is what produces fast, uniform rooting across an entire tray.
The right transplant size depends on your facility's target canopy height at harvest, flowering room spacing, and whether you top or train plants in veg. Generally, clones should be transplanted to veg containers when they have established root systems and show active new growth — usually when 2–4 nodes of new growth are visible after the initial cutting recovery.
Uniform height at transplant is the most important metric. Plants of significantly different sizes at veg entry will develop uneven canopies in flower — taller plants shade smaller ones, reducing yield from the shaded plants and wasting canopy space. CannaCribs designs propagation workflows around achieving ±10% height uniformity at each transplant stage.
Related


