
CannaCribs Video Breakdown

Advanced Cloning Methods for Commercial Cannabis Growers [Video Breakdown]

By May 18, 2026No Comments
CannaCribs Video Breakdown

Advanced Cloning Methods for Commercial Cannabis Growers

[Video Breakdown]

Darren Kaplan from the CannaCribs Horticultural Consulting team walks through the complete commercial cloning workflow — from setting up a process-specific cart to taking cuts from mothers, processing clones to size, and sticking them into substrate. The focus is on efficiency, uniformity, and biosecurity protocols designed specifically to prevent Hop Latent Viroid (HLVd) transmission.

Key Takeaways
  • Process-specific, color-coded carts for every cultivation task — one cart per room and per process. No equipment sharing between areas.
  • All solutions labeled with contents and expiration dates. Fresh 10% bleach daily — bleach is not stable once diluted.
  • These protocols specifically target Hop Latent Viroid (HLVd) — currently the most damaging and easily transmitted pathogen in commercial cannabis, spread primarily through cutting tools.
  • One scissor per plant into the dirty bin. Physical cleaning first (paper towel or cloth), then minimum 1 full minute in bleach — bleach can't penetrate plant residue to disinfect.
  • Take no more than 30–40% of the mother's total canopy per session to avoid stress and slow recovery.
  • Prefer apical (tip) shoots for better rooting success — different hormone balance vs. lateral branches. Maximize clone count by including both when needed.
  • Clone size: 4–5 inches, 45° angle cut, dipped in rooting gel, inserted 1–2 cm into substrate. Uniform height across the tray is critical.
  • 2–3 fully expanded leaves is optimal. Avoid cutting leaf tips unless tray congestion demands it — a 2018 study showed ~20% lower rooting success with trimmed leaves.
  • Uniform height is non-negotiable — taller clones will shade and outcompete shorter ones until the shorter ones become useless.
  • KPI target: 100–200 clones per person per hour when production is systematized with specialized roles per task.
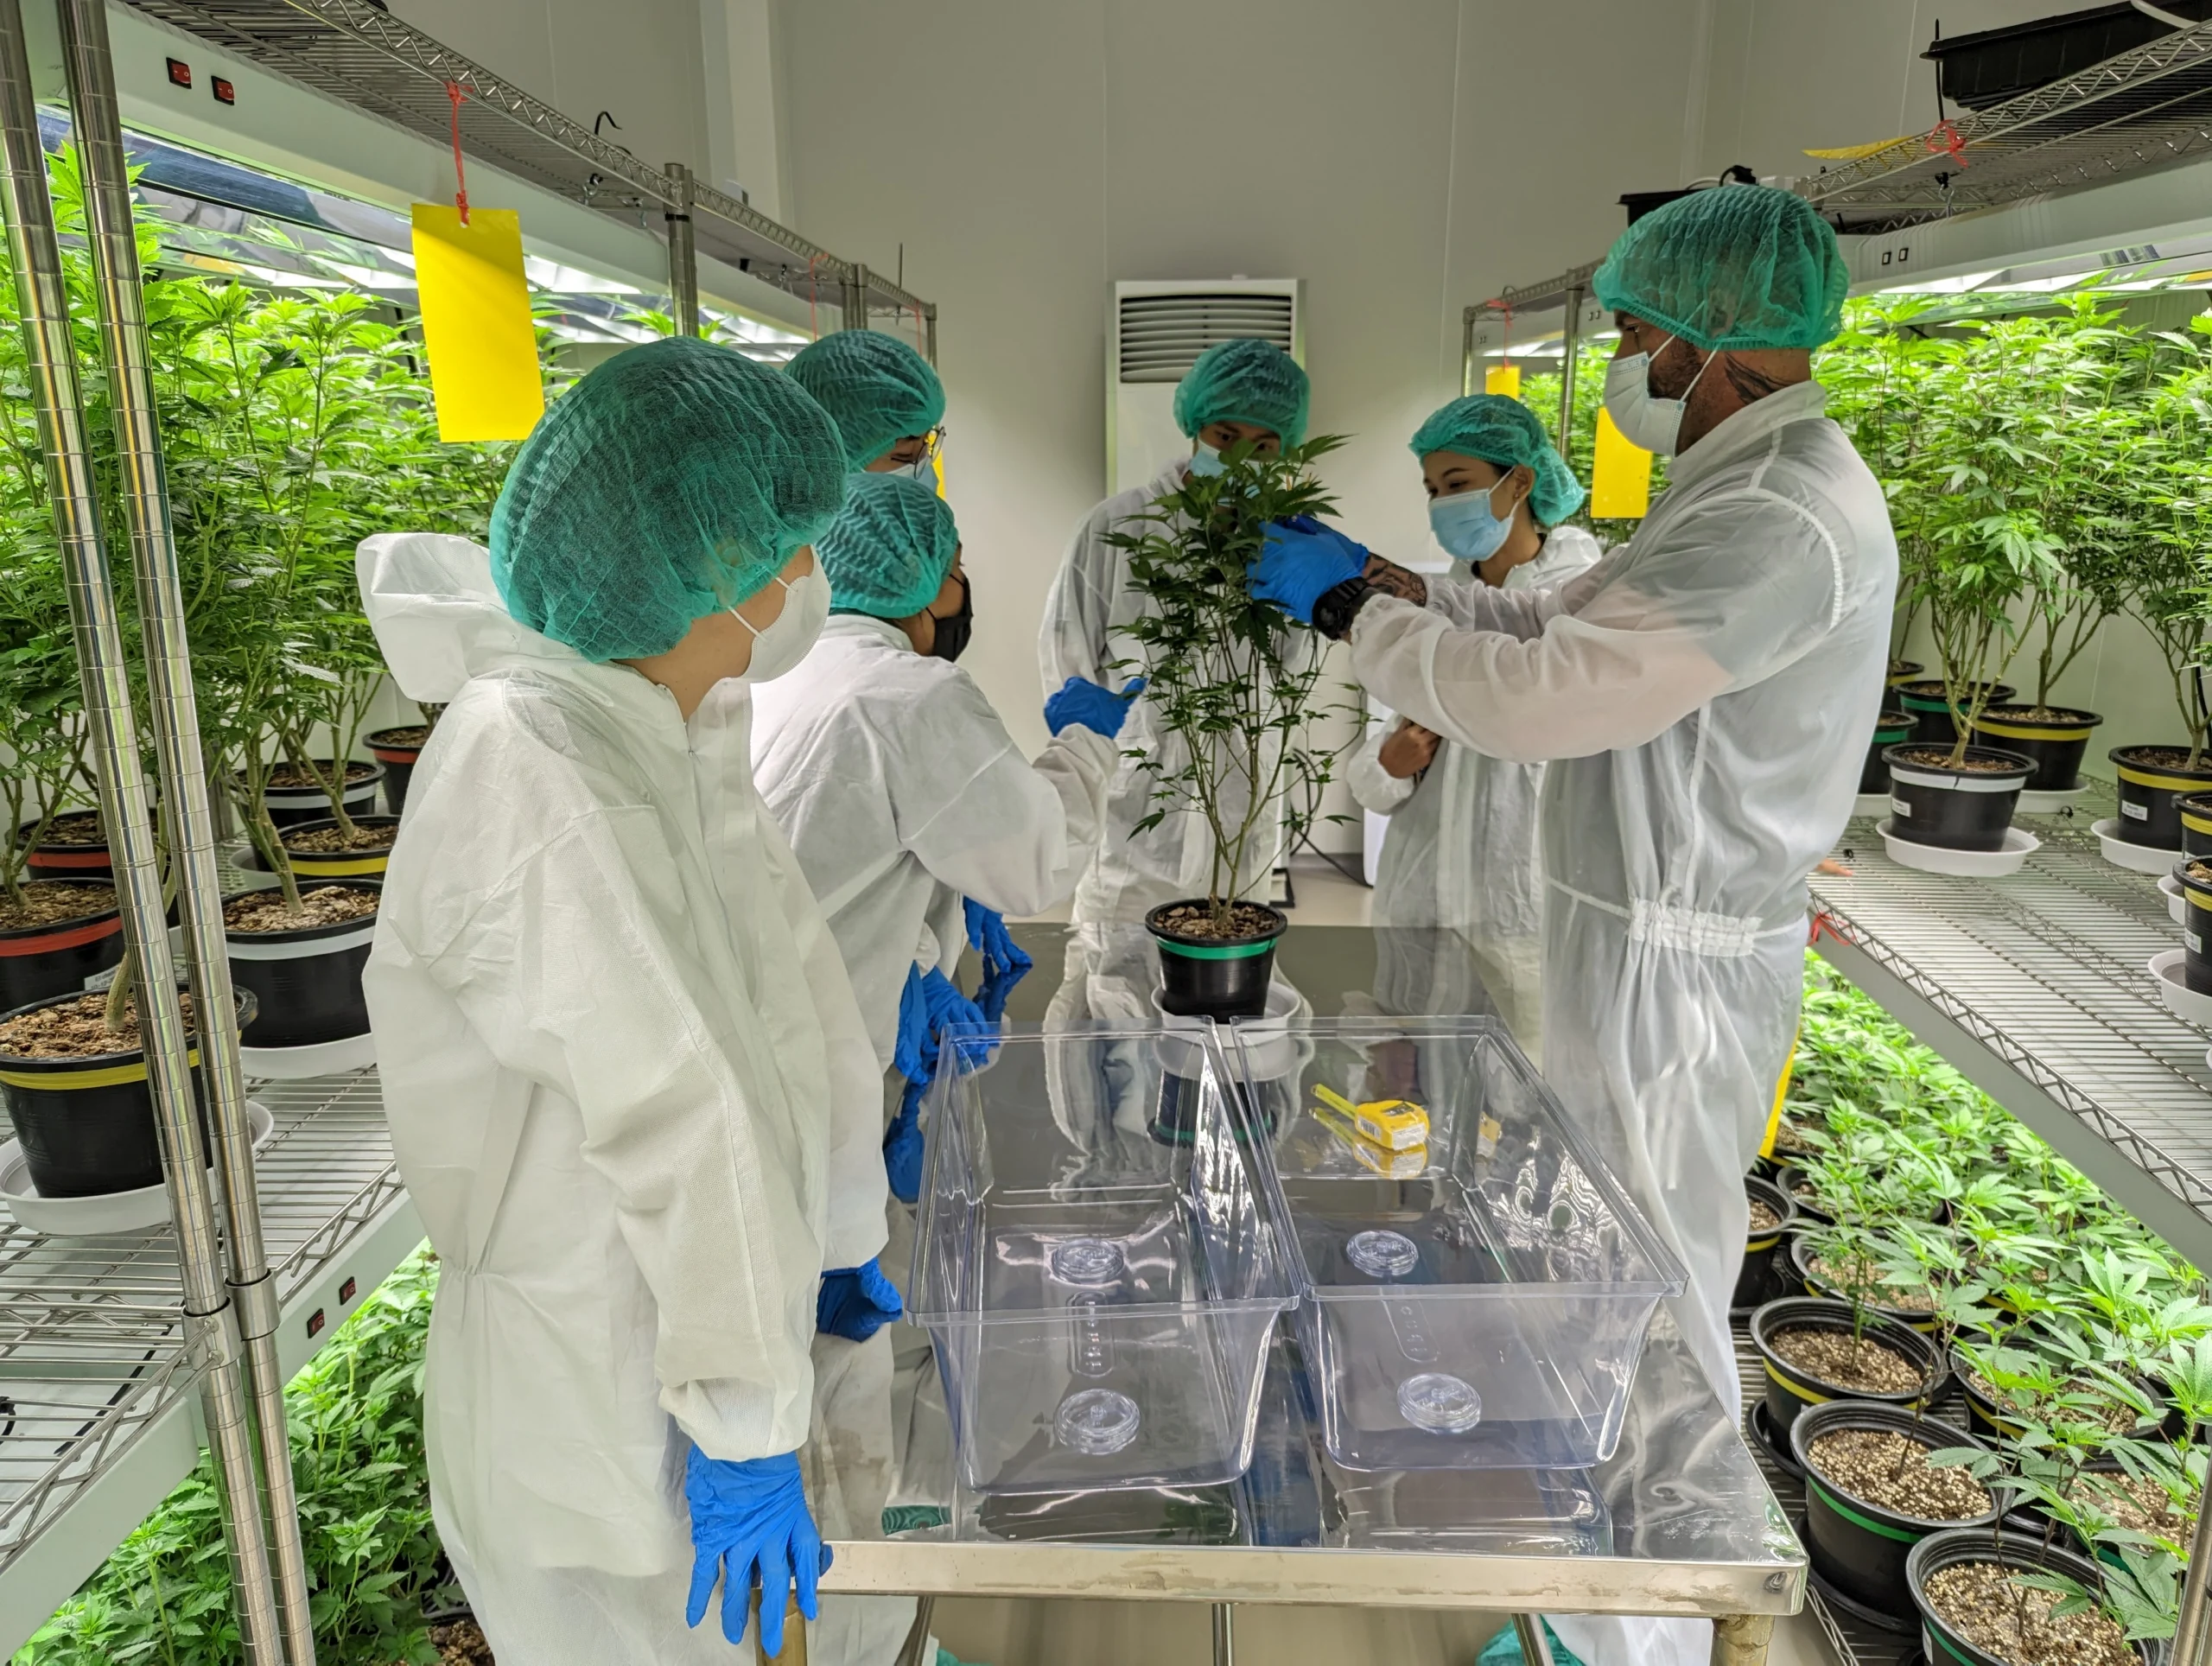
CannaCribs consultants training a cannabis cultivation team on mother plant management and cloning biosecurity protocols
Mother plant management and clone production require the most stringent biosecurity protocols in any cannabis facility. Process-specific carts, color coding, and daily fresh bleach solutions are the foundation — not optional extras.
Cart Setup and Biosecurity Foundation 0:00–2:36

Every process in the cultivation facility gets its own dedicated, labeled cart — one for taking cuts from mothers, one for the clone room, one for flower room pruning. This prevents cross-contamination between rooms and tasks, and ensures every tool a grower reaches for is already set up for the specific job at hand.

The cloning cart includes: clean scissors in a green bin, dirty scissors in a red bin, a container of fresh 10% bleach solution (mixed daily — bleach is unstable once diluted), a container of reverse osmosis water for rinsing, spray bottles color-coded by function (green cap = veg fertilizer at EC 1.5/pH 6.5; red = 10% bleach; blue = 70% isopropyl), paper towels or microfiber cloths, a timer, and gloves. Every bottle is labeled with contents and expiration date.

Target pathogen: Hop Latent Viroid (HLVd). All disinfection protocols in this video are specifically designed to break HLVd transmission — currently the most damaging and easily spread pathogen in commercial cannabis. It transmits mechanically through cutting tools, hands, and contaminated surfaces. It cannot be treated; only prevented.

Scissor Disinfection Protocol 2:36–4:18

The core workflow: use one pair of scissors per plant, drop into the dirty bin, continue until you have enough to fill the disinfection vessel. Then:

  • Physically clean each pair with paper towel or cloth — remove all plant material and sap. Bleach cannot penetrate residue — physical cleaning is mandatory, not optional.
  • Submerge completely (handles included — handles also transmit pathogens) in the bleach solution.
  • Start the timer. Minimum 1 full minute from when the last pair entered the solution.
  • Rinse in fresh RO water — or better, under running water in a sink if workflow allows.
  • Allow to drip dry, then move to the clean green bin.

Gloves should be changed between cultivars at minimum. Between individual plants when working with genetics of concern. Spray gloved hands with bleach solution, allow to air dry, before moving to the next plant.

Taking Cuts from Mothers 4:18–9:09

Before cutting, assess each mother: how much foliage can be taken, where the healthiest cuts are, and how far down to cut. Key principles:

  • Cut at the node split — find where the branch divides into two. Cut at that point so the remaining node continues to grow.
  • Prefer apical shoots (growing tips) for better rooting success — different hormone balance compared to lateral branches produces faster, more reliable rooting.
  • Take no more than 30–40% of total canopy per session. Taking more causes stress, slows recovery, and may permanently reduce the mother's cut production capacity.
  • Angle the cut so runoff drains away from the cut surface — reduces drying surface and lowers pathogen entry risk.
  • Keep cuts hydrated in the dome by spraying with veg fertilizer solution throughout the process — low VPD in the dome prevents wilting before transplant.
  • Track which mother each clone came from. Label dome with strain name and mother number for full traceability.

After taking cuts, consider pinching or topping remaining branches on the mother to encourage new shoot development for the next cut session. Monitor irrigation frequency after a major cut — water demand drops significantly with less canopy; dryback cycles change.
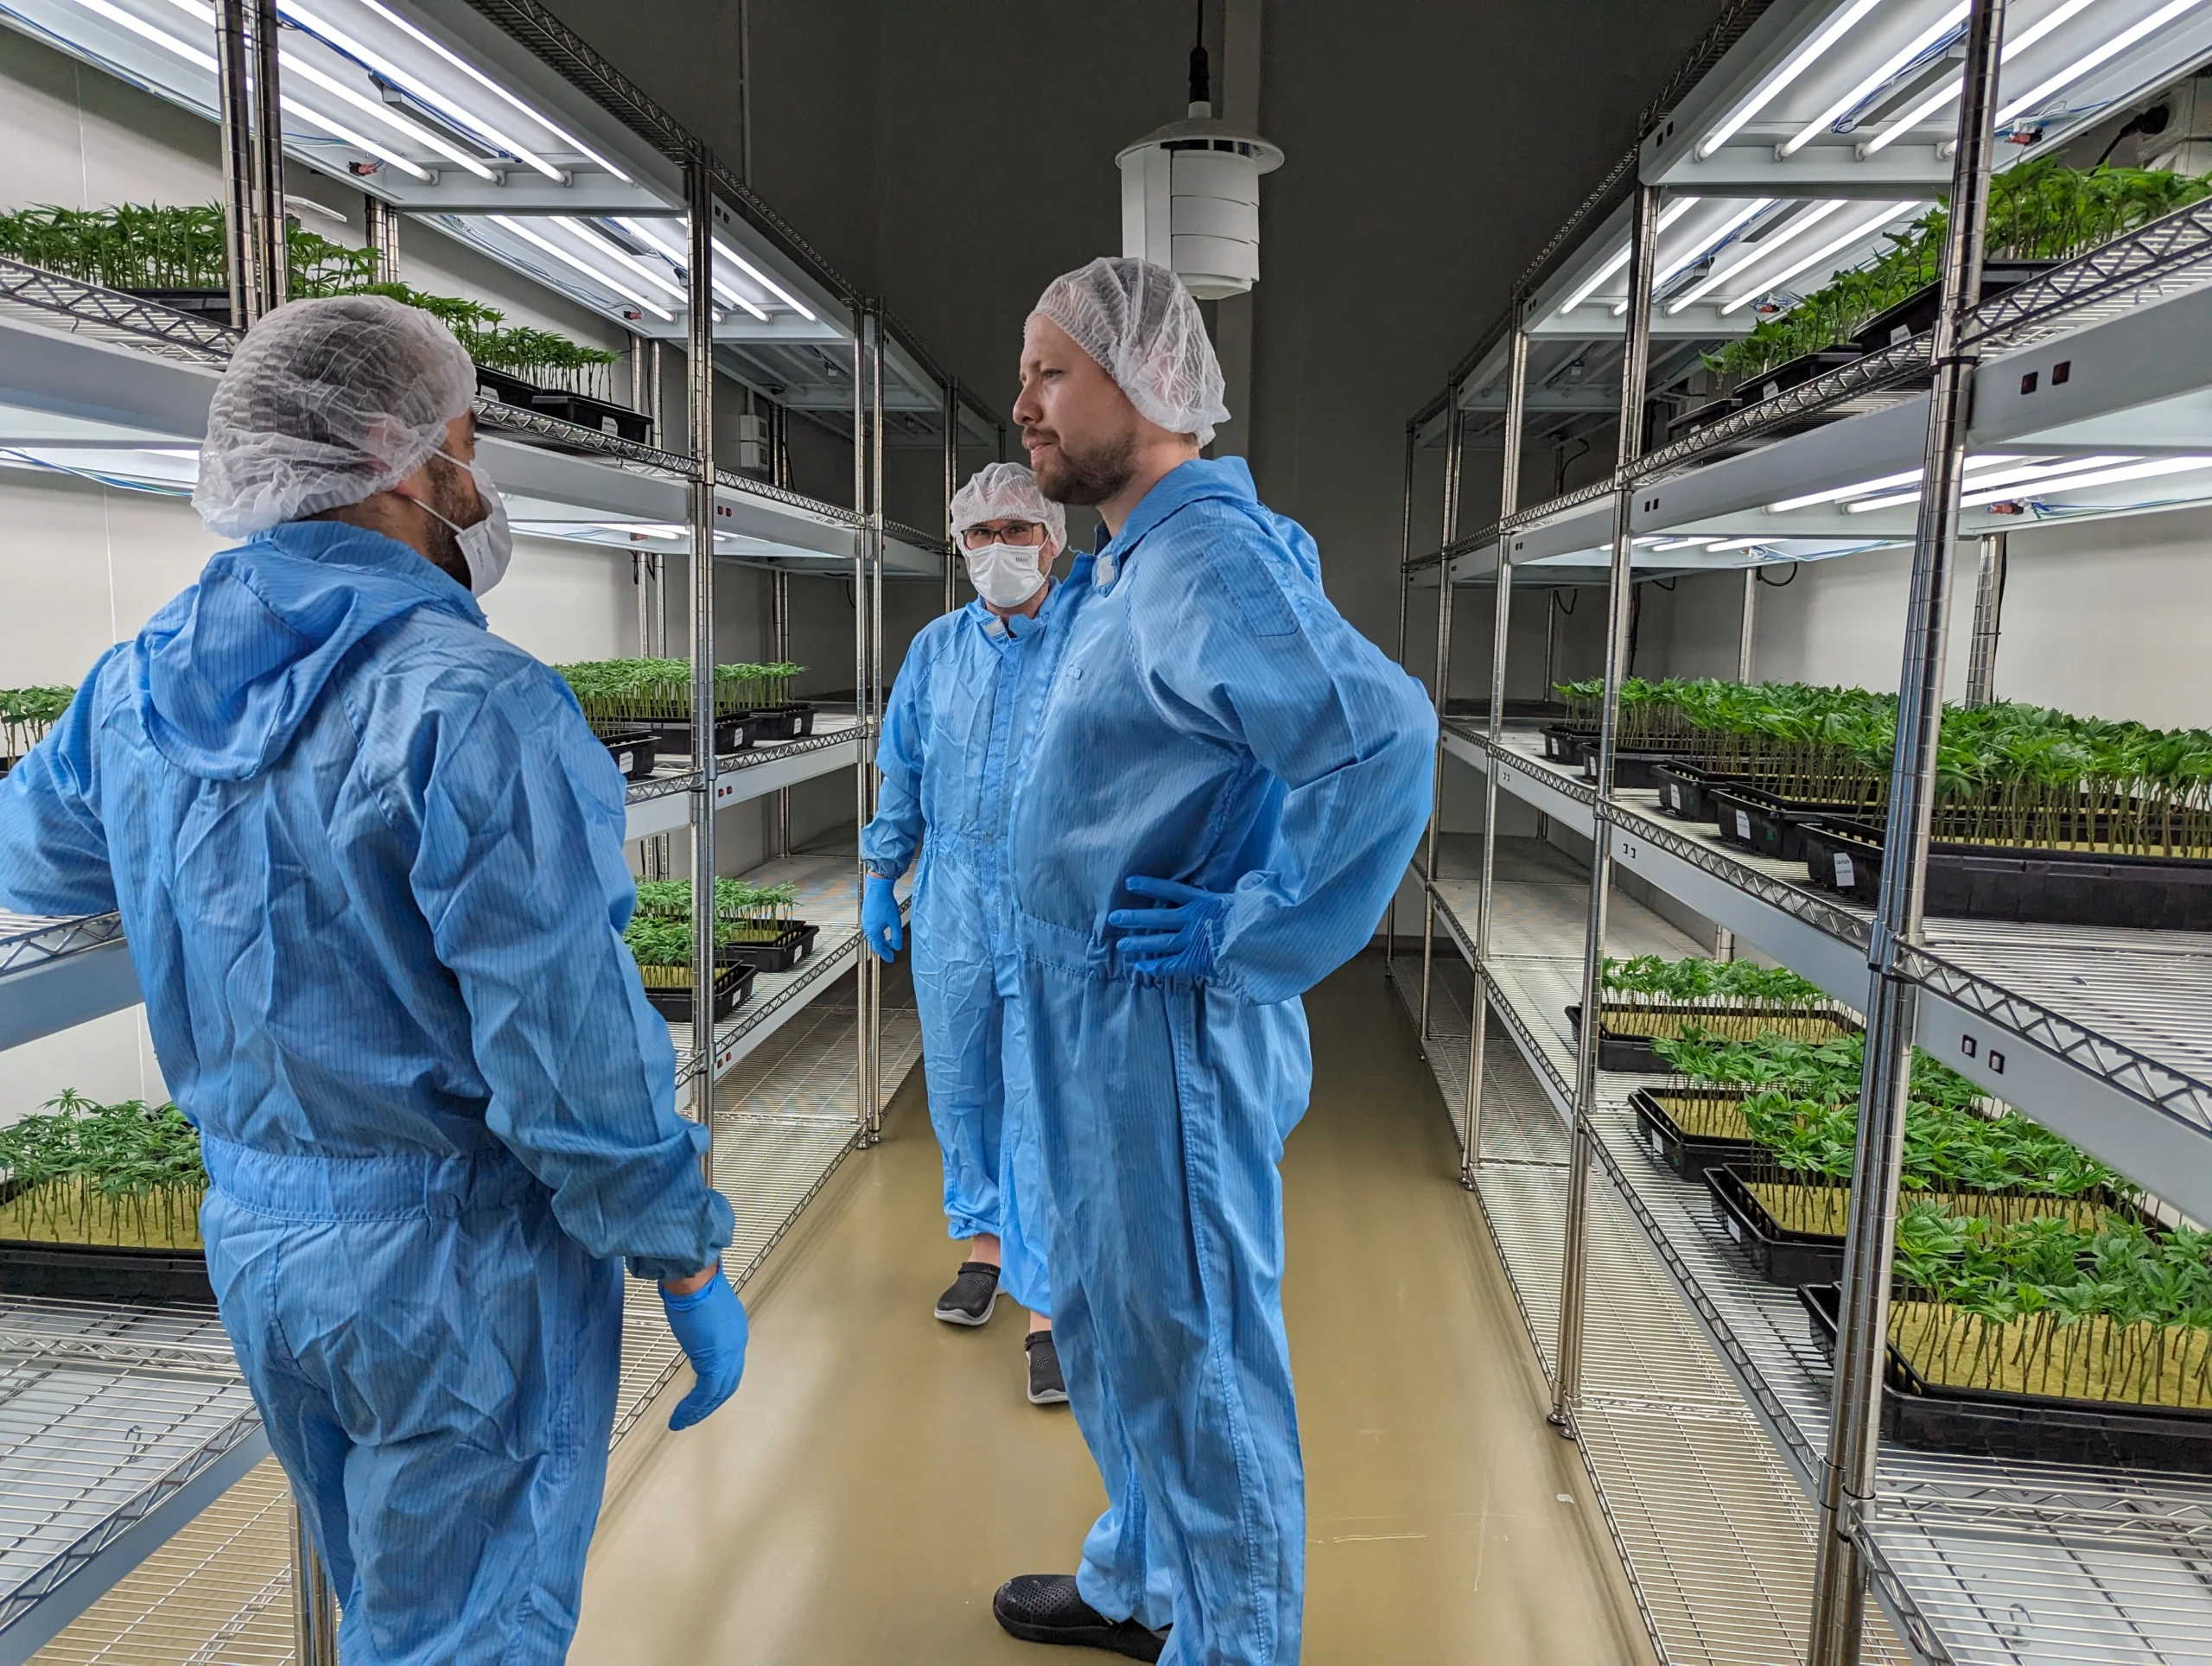
CannaCribs cannabis consultants reviewing a vertical multi-tier propagation room with clone trays and veg plants
The clone room environment must be dialed in before the first tray arrives. Check temperature, humidity, VPD, and PPFD at canopy level — optimal conditions at the moment of arrival, not after the clones have been sitting for 30 minutes.
Processing Clones and Sticking 9:09–13:43

In the clone room, check environment first — temperature, humidity, VPD, and light levels at canopy. Then process the cuts:

  • Size: Cut to 4–5 inches total length. Cut to final size just before sticking — keep in water until that moment to prevent air embolism at the cut base.
  • Cut angle: 45° angle to maximize rooting surface area.
  • Rooting hormone: Dispense a small amount of cloning gel into a separate container — never dip directly into the main container (cross-contamination risk). Dip the cut end and insert 1–2 cm into substrate. Tug gently to confirm snug fit.
  • Leaf management: Optimal is 2–3 fully expanded leaves. Avoid cutting leaf tips — a 2018 university study showed approximately 20% lower rooting success when leaves were trimmed. If tray will be congested, trimming large leaves may be necessary to prevent microclimate mold points.
  • Efficiency trick: Batch 4–5 clones at once, aligning growing tips at the top of your index finger, close your fist, cut at the same point — produces uniform-length clones faster than cutting individually.
  • Orientation: Point foliage away from tray edges to avoid leaves catching on the humidity dome. No leaves touching the dome.
  • Final QC: Replace any clones that are noticeably shorter than the rest. Uniform height is critical — a clone 20% shorter will be permanently outcompeted.

Close the dome with both vents open. Label with genetic name, batch ID, and date. Set PPFD to 100–150 µmol at canopy level. As clones root and vents can open further, increase light intensity by moving trays to more intense shelf positions.

Clone Production KPI 14:51–15:45
Cloning Performance Benchmark

Target: 100–200 clones per person per hour when the workflow is properly systematized with specialized roles per task (cutting mothers, stripping/processing cuts, sizing and sticking). Calculate by dividing total clones produced by total person-hours worked across all cloning tasks. This KPI ensures the team is working efficiently and consistently — and flags when new staff need additional training or when the workflow has a bottleneck.

CannaCribs cannabis facility consultants working on-site with cultivation teams on propagation workflow and cloning SOPs
CannaCribs Consulting designs cloning workflows for commercial scale — from cart setup and biosecurity SOPs to clone room environment, KPI tracking, and team training. The goal: 100–200 clean, uniform, traceable clones per person per hour.
Full Video Transcript

Advanced Cloning Methods for Commercial Cannabis Growers — Darren Kaplan, CannaCribs Horticultural Consulting.

[00:00:00]

Hi, I'm Darren Kaplan from the CannaCribs Horticultural Consulting team, and today we're here to share some concepts that we discuss and implement to help commercial cannabis growers operate as efficiently and successfully as possible.

[00:00:16]

In front of me we have our cloning cart. We like to keep a different cart for every process in the cultivation facility — and every room specifically. So for cloning we have one; for cutting back mothers we have one; we have one for flower rooms for pruning. On the clone cart specifically, we have clean scissors in a green bin (everything's color-coded), a red bin for dirty scissors, a container of a 10% bleach solution for disinfecting the scissors after taking cuts. We've used a food-safe dye to mark the bleach — it's useful to know which is bleached and which is water. Just make sure the food-safe dye is compatible with bleach before you use it. Here we have bleach, and here we have straight reverse osmosis water.

[00:00:54]

We also have three spray bottles. Green cap is a vegetative fertilizer at EC 1.5 and pH 6.5 — we use that for spraying cuttings to keep them moist, maintain turgor, and give them a little bit of a feed before they're transplanted. Red is for bleach — 10% bleach solution, mixed fresh every day because bleach is not stable once diluted. We put the expiry date on all of these spray bottles. Blue is isopropyl alcohol diluted to 70%. We also have the expiration date. We use this for cleaning surfaces. It's not necessarily effective for hop latent viroid as it hasn't been shown to neutralize it effectively, but it's still good for cleaning surfaces — it leaves no residue and is a good all-purpose sanitizer. Paper towels (or microfiber cloths) for cleaning scissors before dunking them in bleach. A timer to track disinfection time. Gloves.

[00:02:01]

Changing gloves between every cultivar is the lowest bar — but between every plant or as often as you feel comfortable is important. Spray your gloved hands with a 10% bleach solution, spray away from your eyes, a couple of sprays as if you're washing your hands completely, allow the bleach to cover your gloves and let it air dry, then you can continue working on the next plant. These procedures are best practice in general, but what we're targeting specifically is Hop Latent Viroid (HLVd). HLVd is one of the most damaging pathogens we're seeing in cannabis crops right now, and one of the most prolific — it's very easy to transmit when taking cuttings or working with plants. All these procedures are designed around minimizing the risk of passing HLVd from one plant to another and avoiding cross-contamination generally.

[00:02:36]

Imagine we're taking clones off mothers. We use one pair of scissors per plant. Once that scissor is used, it goes into the dirty bin. We continue — one scissor per plant — until we have enough to fill the disinfection vessel. Then we take these scissors out and clean them. Before the bleach can do its job, you must physically remove residue — pieces of leaf, plant material, exudate. Unless you remove them physically, the bleach won't be able to penetrate in just one minute. Use a paper towel or microfiber cloth to wipe off any residue before disinfecting. Put the scissors completely into the bleach solution — handles submerged too, because you can get cross-contamination from the handles as well. Start the timer for 1 minute. You need that complete 1 minute from the time the last pair went in. Two minutes is fine; you want at least one minute for all pairs.

[00:03:47]

Take the scissors out of the bleach solution — use gloves so you don't get bleach on your hands. Do a quick rinse in fresh RO water, let them drip dry, then they go back into the green bucket. If you have the ability to rinse these under fresh running water in a sink, that's a bit better — there's a risk of cross-contamination in the shared rinse container. It's better protocol but less efficient. Up to you. Then the process continues: scissors get used for taking new cuts and go back into the dirty bin when done.

[00:04:18]

Now that our implements are ready — clean, organized, and well-labeled — we start the cloning process on the mothers. The first step is taking cuts. I like to first look at the mothers to see how many clones I can get and how much to cut from the plant. The most important thing: take the healthiest cuts from plants that will have the easiest time rooting and will be healthy going forward.

[00:04:43]

I'm using one container (in this case a dome) labeled with strain name and mother number. Keep track of the clones taken from each mother — if anything happens with the clones in veg or flower, you can always cross-reference and trace back to the mother. First, take clean scissors that have already been sanitized. Look at the mother plant — where are the healthiest cuts? We take a cut where the node splits into two. I would make the cut at an angle so the cut surface can dry better and any runoff goes down the plant.

[00:07:05]

One thing to keep in mind: we don't like to take more than 30–40% of the total canopy of the plant per session — to prevent stress. If you take more, the plant will need more time to recover. Some leaves at the bottom of the canopy may not be well-optimized for the light levels. Do maintenance cuts and harder reshape cuts in stages. We usually prefer apical cuts (from the tip of the branch) because they have a different hormone balance compared to lateral branches — we see higher success in terms of rooting with apical shoots.

[00:08:42]

Now that we've finished taking clones from the mother, we'll spray the cuttings a bit more to make sure they don't dry out, then transport the dome to the clone room where they'll get processed, cut to size, stuck in substrate, and finished. First thing in the clone room: check the environment. Confirm temperature, humidity, VPD, and light levels are correct before the clones arrive.

[00:09:45]

We're going to cut clones to size, focusing on the tips of the branches for the best rooting success. Clone target size: about 4–5 inches. We'll put them in water, then make the final cut right before sticking — keeping them in water until then prevents air embolism. Dispense rooting hormone (clonex) into a separate individual container — don't dip directly into the main container to avoid cross-contamination. After the 45° angle cut: dip in rooting gel, insert 1–2 cm into substrate, and gently tug to confirm snug fit.

[00:11:24]

Regarding leaf management: in 2018, myself and colleagues at the University did a study on the effects of leaf number, cutting leaf tips, and other factors on cannabis rooting success rates. We found that 2–3 fully expanded leaves was optimal, and there was a negative effect on rooting if you did cut the leaves. We didn't account for tray congestion in that study. In some cases I would still advise against cutting leaves if you don't have to — but if your tray will be congested, sometimes cutting leaves is necessary to prevent microclimates and mold points.

[00:12:25]

Standardizing clone height is absolutely critical. Uniform height is non-negotiable. If one clone starts to get taller than another, it shades the others, outcompetes them, and they'll continue to grow taller until you have clones that are completely shaded and useless. For quick measurement: use a 4-inch ruler to cut a reference clone, then use how it aligns in your hand as a template going forward. Batch 4–5 at once, align growing tips, close your fist, cut at the measurement point — much faster than cutting individually.

[00:13:43]

Final quality control: check the tray as a whole, look for leaves overlapping or nodes being shaded by another leaf. Remove shading leaves. Replace any clones that are noticeably smaller or uneven with fresh ones. Give a final spray of veg fertilizer at EC 1.5, pH 6.5. Put the dome on with both vents open. Label the tray: genetic name, batch ID, and date. Place on the rack. Measure PPFD at canopy level — target 100–150 µmol/J. As clones root and domes open, increase intensity by moving to higher-intensity shelf positions.

[00:14:51]

There are many ways to create clones successfully. What we want to focus on is the workflow and efficiency of making clones consistently and in large quantity. Find efficiencies by having team members specialize into each individual task — people cutting mothers, people stripping and processing cuts, people cutting to size and sticking substrate. Track overall performance using a KPI: we typically like to see 100–200 clones per person per hour. Total the hours worked across all tasks, take the final number of clones produced over that time — that's your KPI. Hopefully there's something here you can use in your cultivation.